

Hockey Photography Settings: An Easy to Understand Guide
Whether you are a seasoned professional photographer or a beginner looking to improve your skills, understanding the right hockey photography settings is crucial.
In this guide, we will provide an easy to understand breakdown of the various camera settings and techniques that can help you take better hockey photos.
From aperture and shutter speed to ISO and white balance, we will cover the key elements of hockey photography and how to use them to your advantage.
By the end of this guide, you will have a solid understanding of how to use your camera to take stunning hockey photos that capture the excitement and intensity of the game.
Table of Contents
Hockey Photography Settings: Why They Matter
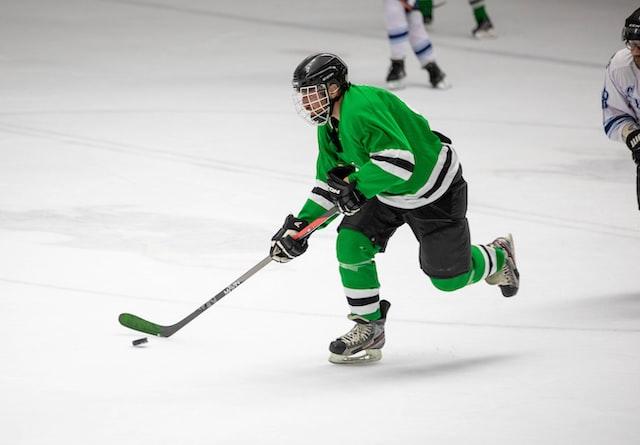
Using the right settings is important in any type of photography, but it is especially crucial in sports photography, where the action is fast-moving and the lighting conditions can be challenging.
The right settings can help you freeze the action, capture crisp and clear images, and properly expose your photos.
In hockey photography, for example, using a fast shutter speed can help you freeze the action and capture sharp images of players skating, shooting, and passing the puck.
Aperture, on the other hand, can affect the depth of field in your photos, determining how much of the scene is in focus. ISO, meanwhile, determines the sensitivity of your camera’s sensor to light, and can be useful in low light situations.
White balance, finally, can help you ensure that colors in your photos appear accurate and natural.
By understanding and using the right camera settings, you can take control of your photography and create images that accurately and creatively capture the essence of the game.
The Best Hockey Photography Settings to Use
There is no one-size-fits-all answer to this question, as the best hockey photography settings will depend on a variety of factors.
These factors can include the lighting conditions, the type of camera you are using, and the specific shots you are trying to capture. With that said, here are some general guidelines for camera settings that can be useful in hockey photography:
Shutter Speed: A fast shutter speed (1/200th of a second or faster) can help you freeze the action and capture sharp images of fast-moving players.
Aperture: Aperture can affect the depth of field in your photos, determining how much of the scene is in focus. For hockey photography settings, you may want to use a wider aperture (f/4 or lower) to blur the background and focus attention on the players, or a smaller aperture (f/8 or higher) to keep the entire rink in focus.
ISO: ISO determines the sensitivity of your camera’s sensor to light. In low light conditions, you may need to use a higher ISO to properly expose your photos, but be aware that higher ISOs can also introduce noise into your images.
White Balance: White balance can help you ensure that colors in your photos appear accurate and natural. In hockey rinks, the lighting can often have a strong blue or yellow cast, so you may need to adjust your white balance accordingly. Usually, an Auto white balance will do a good job.
It’s also important to note that these settings are just a starting point, and you may need to adjust them depending on the specific conditions of the game and the shots you are trying to capture.
Experimenting with different settings and learning how they affect your photos can help you improve your hockey photography skills.
Additional Resources
Here is an article that is sure to be very helpful for anyone interested in sports photography:
Best Nikon Lenses for Sports Photography
Check out our Gear page to read more articles just like this with up-to-date product reviews for gear across all photography genres.